We’re available 24/7
1300 375 325
We’re available 24/7


Before diving into the repair process, let's take a look at the possible causes of a leaking showerhead:
The washer is a small rubber ring that sits inside the showerhead and prevents water from flowing when the shower is turned off. Over time, the washer can wear out and cause a leak. This is the most common cause of a dripping showerhead.
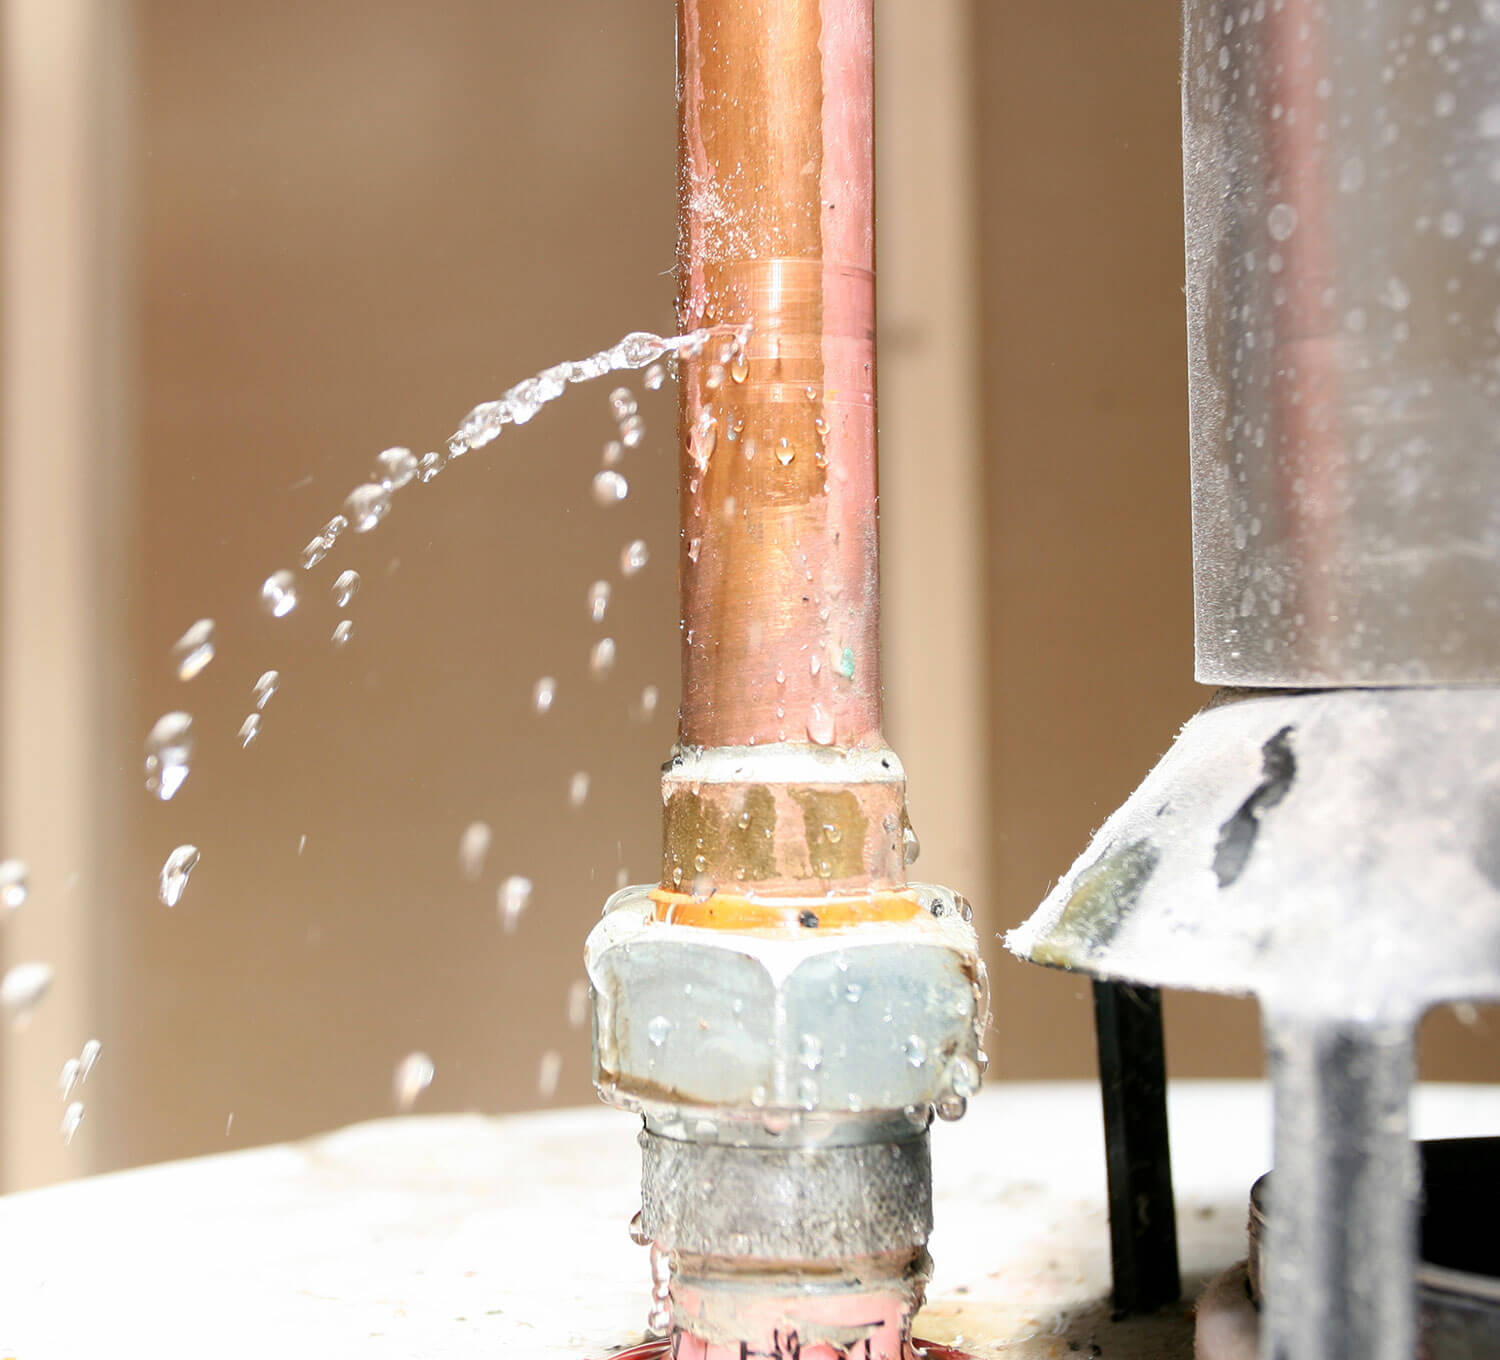
If the connection between the showerhead and the pipe is loose, water can leak from the joint. This is a common problem in older showerheads that have been used for years.
If the valve seat, which connects the showerhead to the water supply pipe, is corroded, water can leak around it. This is a more serious issue that requires replacing the valve seat.
High water pressure can cause a leaking showerhead, as it puts excess stress on the plumbing system. This is more common in houses with old plumbing systems or where the water pressure is not regulated.
To fix a leaking showerhead, you'll need the following tools:
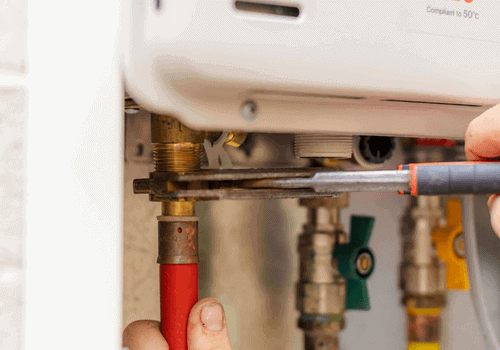
A wrench is a tool used to tighten and loosen nuts and bolts. You'll need a wrench to remove the showerhead from the pipe and to tighten it back onto the pipe after you've fixed the leak.
A screwdriver is a tool used to turn screws. You'll need a screwdriver to remove the old washer and O-ring from the showerhead and to insert the new ones.
Pliers are a type of tool used for gripping and twisting. You'll need pliers to remove the old washer from inside the showerhead if it's stuck or difficult to remove with a screwdriver.
Teflon tape is a thin, white tape that's used to seal pipe threads. You'll need Teflon tape to wrap around the threading of the shower arm before reattaching the showerhead. This will help create a tight seal and prevent any future leaks.
If the washer inside the showerhead is worn out, you'll need a replacement washer. The washer is a small rubber ring that sits inside the showerhead and prevents water from flowing when the shower is turned off. A worn-out washer is the most common cause of a leaking showerhead.
If the O-ring inside the showerhead is damaged, you'll need a replacement O-ring. The O-ring is a small rubber ring that sits at the base of the showerhead and helps create a tight seal with the pipe.
If the showerhead is clogged with mineral deposits or lime scale, you may need vinegar or lime dissolver to help clean it. These solutions can help dissolve mineral buildup and make it easier to scrub away any remaining debris with a toothbrush.
Make sure to have all of these tools on hand before starting the repair process. Having the right tools will make the job easier and help ensure that you fix the leaking showerhead correctly.
Now that you understand the causes of a leaking showerhead and have the necessary tools, let's get started with the repair process:
Before you start working on the showerhead, make sure to turn off the water supply to avoid any potential water damage.
Use a wrench to loosen and remove the showerhead from the pipe. Be careful not to damage the pipe or the shower arm.
Inspect the washer and O-ring for any signs of wear and tear. If either is damaged, replace it with a new one.
If the showerhead is clogged with mineral deposits or limescale, soak it in vinegar or lime dissolver for a few hours. Then, use a toothbrush to scrub away any remaining debris.
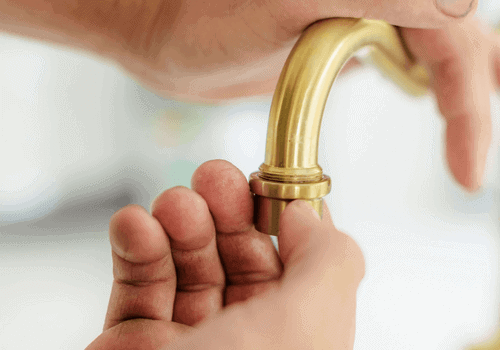
Wrap Teflon tape around the threading of the shower arm to ensure a tight seal.
Reattach the showerhead to the pipe and tighten it with a wrench. Be careful not to over-tighten it, as this can cause damage to the shower arm.
Turn on the water supply and test the showerhead for any leaks. If there are no leaks, congratulations – you've successfully fixed your leaking showerhead!
To keep your showerhead in good condition and prevent future leaks, follow these additional tips: