We’re available 24/7
1300 375 325
We’re available 24/7


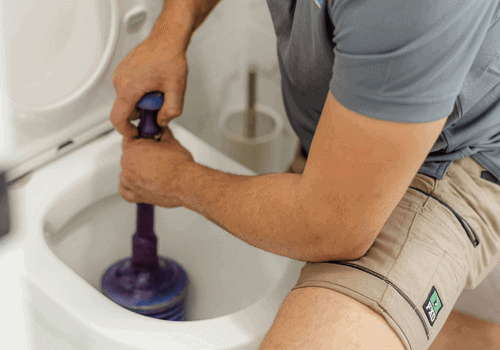
Often, the culprit behind such leaks is a worn-out tap washer. Over time and with regular usage, these washers tend to degrade, losing their effectiveness. The good news? Most homeowners, even those with minimal plumbing experience, can change a tap washer. Initially, it might sound like a daunting task, but with the right guidance and tools, it's a straightforward DIY fix.
However, if you feel it's a task better left to the professionals by the end of this guide, never hesitate to seek expert help. After all, there's an art to plumbing, honed over years of experience. Here, we'll provide a step-by-step process to help you change a tap washer on a mixer tap, ensuring you're equipped to address the leak head-on.
A tap washer, often a staple in many plumbing toolboxes, is a small, disc-like component crucial to the functionality of most taps. Its primary role? To ensure that when you turn off your tap, the water does precisely that - it stops flowing.
Essentially, a tap washer acts as the last line of defence, sealing the tap from unwanted drips or leaks. Positioned between the tap seat and spout, it forms a tight barrier, preventing water from seeping through. Their design often incorporates materials that are easy to compress, ensuring a watertight seal every time the tap is turned off. This compressed nature aids in efficiently blocking the valve opening, ensuring no unexpected water flow.
Their types can range from the ones used in kitchen settings to those suitable for basin mixers and even outdoor taps. With time, tap washers experience wear and tear, just like any other tool. This wear can lead to those annoying drips we all dread. On average, checking or replacing these washers every couple of years is a good practice, ensuring smooth tap operation. And if you're noticing a persistent leak, sometimes upgrading to a newer tap model might just be the solution to save on those rising water bills.
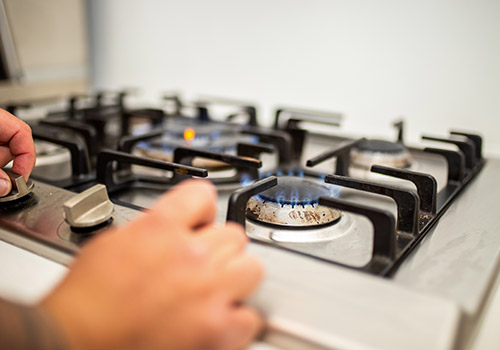
Mixer taps, now a common sight in many Australian households, offer a sleek and practical solution to water access. Characterised by a solitary faucet and a unified tap handle, these taps streamline both hot and cold water delivery through a single spout. This blend, or 'mix', of water temperatures gives the mixer tap its name.
The design variations are diverse, ranging from the contemporary single-lever models to the elegant wall-mounted ones and even the versatile pull-out versions. No matter the style, the core function remains the same. Whether in your kitchen, basin or even your shower, mixer taps provide a seamless water experience.
At the heart of the mixer tap's functionality lies the ceramic cartridge. This isn't your traditional tap washer. Consisting of two ceramic discs, the upper one is mobile, moving with the handle, while the lower one remains static. This precise movement between the discs allows water to flow seamlessly. The ceramic material is renowned for its durability, outlasting the more common rubber washers. That said, even these sturdy ceramic discs aren't immune to wear and can develop leaks or even slight cracks over time.
Before diving deeper, let's walk through the steps to replace one, ensuring your taps remain drip-free and efficient.
Before commencing any repair work, it's essential to be well-prepared. For this procedure, gather the following tools:
This will be handy for prying off caps and unscrewing parts.
Ideal for tightening and loosening parts of the tap.
Useful for gripping small components.
Lay this down beneath the tap to catch any drips or small parts you might drop, ensuring a mess-free workspace.
Ensure it matches the specifications of the old one for a seamless fit.
Safety first! Locate your home's main water valve, typically located under the kitchen sink or outside near the water meter. Turning this off ensures you won't have unexpected water spurting out while working. This step is crucial to prevent any water wastage or mess.
Even after the main water supply is shut off, residual water remains in the pipes. Open the mixer tap to let this water drain out. It ensures a dry workspace and confirms that the water supply is genuinely off.
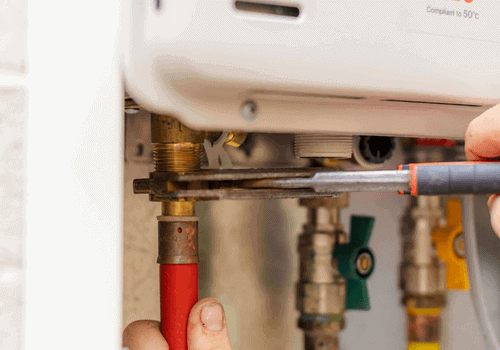
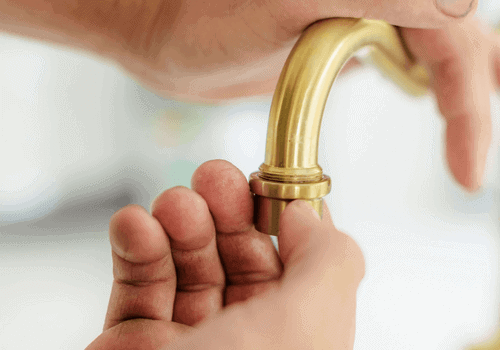
Most mixer taps have a decorative cap on the handle, indicating 'hot' or 'cold'. With your flathead screwdriver, gently pry this cap off. Directly beneath, you'll find a screw. By unscrewing this, you will be able to remove the tap's headgear or handle, granting you access to the internal parts.
Now, focus on the base of the spout. It may be secured with a snap ring or even a small screw, hidden from plain sight. If it's a snap ring, use your pliers to handle it. If it's a screw, your trusty screwdriver will do the job. Once the securing element is addressed, gently pull the spout upwards and off the tap.
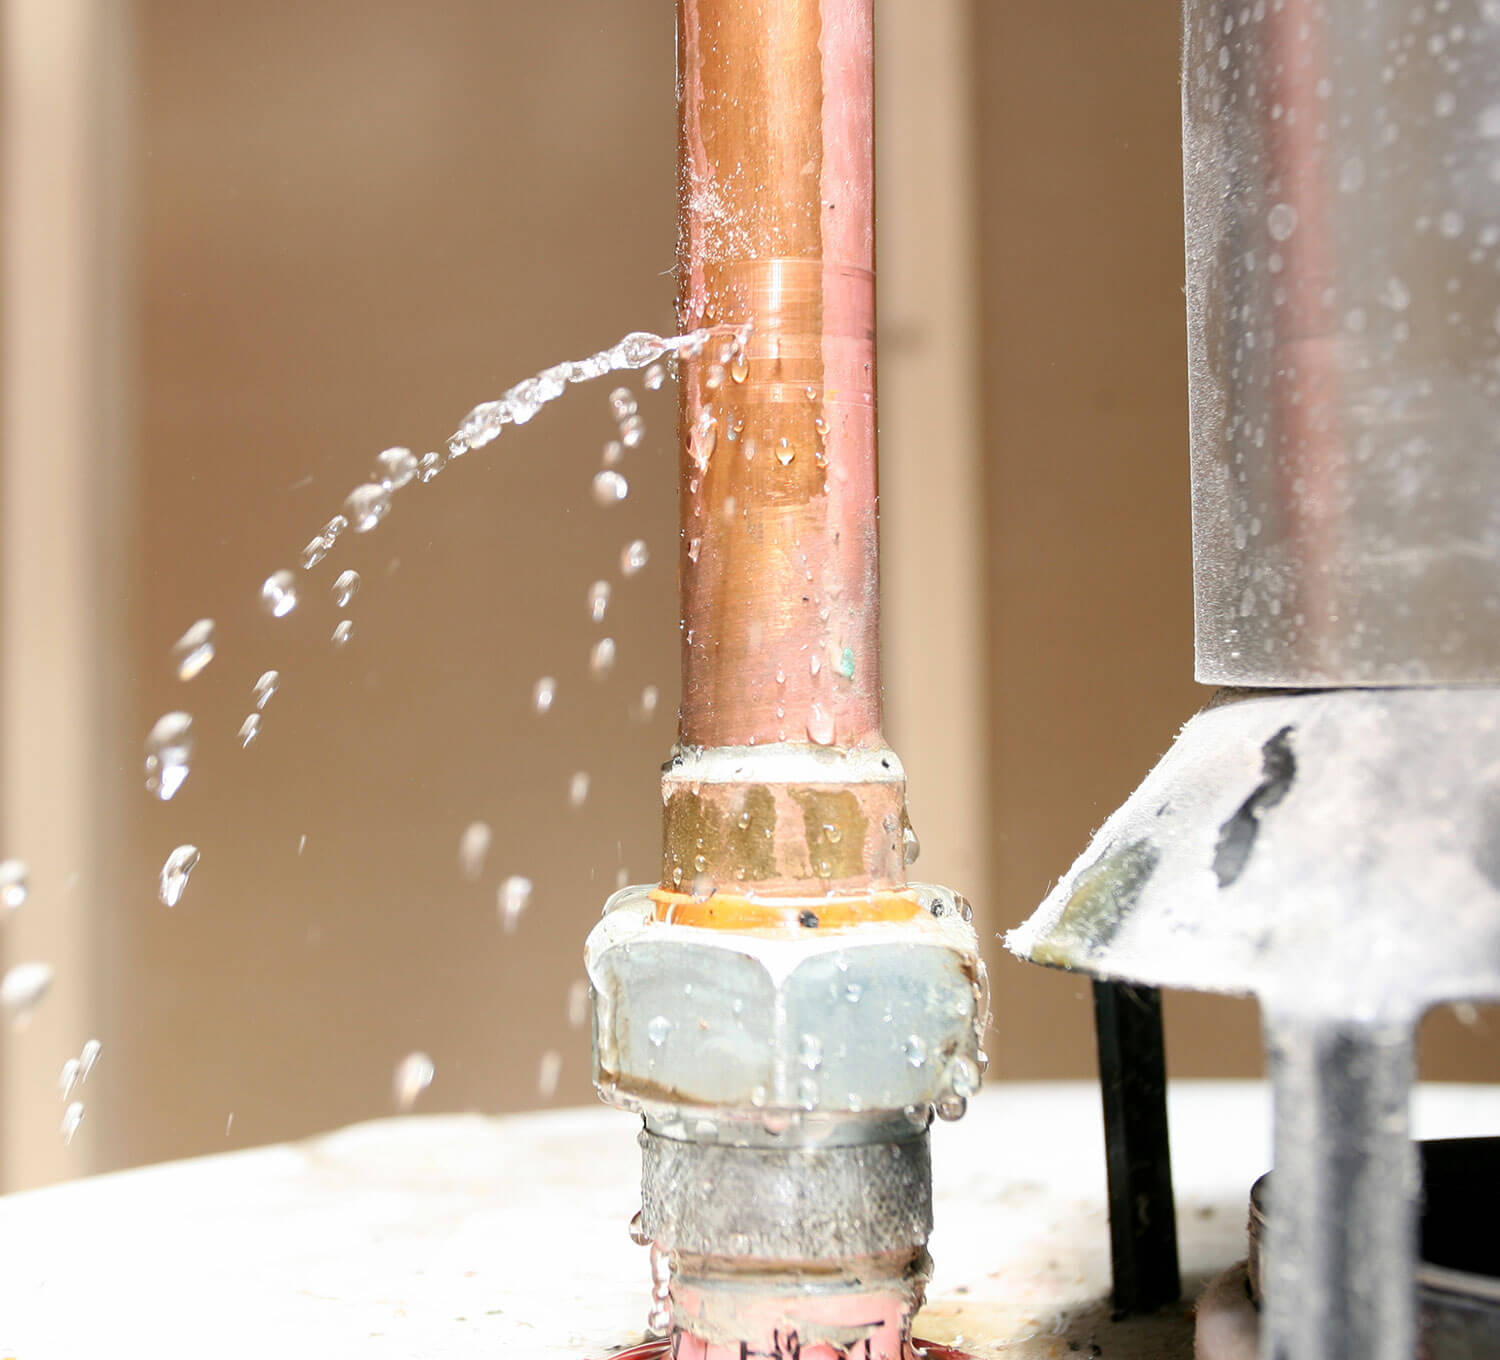
Peek inside the tap's neck, where the spout used to be. Here lies the seal or washer, responsible for maintaining a watertight fit at the tap's base. Over time, this component wears out, leading to those pesky drips.
Employing the flat edge of your screwdriver or your needle-nose pliers, gently extract the old washer. Remember, this step requires patience; you wouldn't want to damage any surrounding parts inadvertently.
With the old washer out, it's time for its replacement. Place the new washer in the same spot, ensuring it's seated correctly. This fresh washer will provide an effective seal, preventing any future leaks from the same area.
Begin the reassembly process by retracing your steps in reverse order. Firstly, secure the headgear back in place, followed by the handle. Once these are firmly in place, snap or screw the decorative cap back onto the handle.
Reinstate the water flow by turning the main valve back on. Then, operate the mixer tap, allowing the water to run for a few moments. This action serves two purposes: it ensures no leaks and helps flush out any debris that might have found its way into the tap during the repair process. If you observe a steady flow with no drips, pat yourself on the back for a job expertly executed!
Mixer tap washers form the crucial link in ensuring that water flow remains consistent and leak-free. Though small, the choice of material for these washers plays a massive role in the longevity and performance of a tap. Let's delve into the primary materials used in these washers and their distinct characteristics.
One of the most trusted materials in the world of tap washers, nylon offers durability and resilience against wear. These washers stand out for their inherent internal lubrication, reducing friction and enhancing their lifespan. Their non-reactivity ensures they remain unscathed when coming into contact with various substances, and their ability to withstand high temperatures makes them suitable for both cold and hot water taps.
A common sight in showers, baths, and basins, these washers are revered for their adaptability to hard materials, owing to their softer nature when compared to nylon. However, their malleability is a double-edged sword: it ensures a good seal but also means they can deform over time, especially when exposed to frequent compressions. Over time, the natural degradation process might lead them to split or crack, requiring replacements to prevent drips.
Often known as vulcanised fibre washers, these are treated with sulphur at elevated temperatures, granting them a unique hardness. Their distinguishing feature is the ability to expand when wet, providing an optimal seal. Moreover, they can be compressed more easily than rubber or nylon counterparts, ensuring they stay resilient even if overtightened accidentally.
Crafted from fire-hardened ceramics, these are arguably the most robust washers available. With one disc stationary and the other mobile, they offer precise control, are less prone to wear due to their erosion-resistant nature, and ensure smooth tap operations.
Choosing an ideal washer isn't just about identifying the material; it's about understanding its compatibility with your mixer tap. Always ensure the replacement washer mirrors the dimensions of the original: Utilise callipers or a measuring tape for precision. Factors like the washer's longevity, adaptability, and price point should be considered.
Investing in quality guarantees reduced frequent replacements, ultimately leading to cost savings. Lastly, purchase your washers from a trusted plumbing supplier to guarantee that you're fitting your taps with the best available.
With the knowledge you've garnered, you're on your way to becoming a deft hand at DIY plumbing tasks, having successfully replaced those tap washers and put an end to the dreaded dripping. Impressive! Your newfound skills don’t stop there; venturing into sink drain replacement is now well within your grasp. However, if you find that the hot water remains elusive or your tap washer replacement didn’t pan out as hoped, there's no reason for dismay.
Enter our team at Dr Leak Plumbing, the quintessential specialist in addressing leaking tap woes. Our expertise spans wide from mending leaky showers and clearing obstructed shower drains to tackle noisy taps. When your laundry taps call for a touch-up, whether it’s washer replacements, spindle cleaning, or mixer tap cartridge substitutions, we've got it covered. And for those taps that have seen better days, bearing the brunt of time, rust, or damage, we stand ready to provide impeccable replacements, offering an extensive range of popular taps catering to all preferences.